Unitech MR650 User Manual
Browse online or download User Manual for Handheld mobile computers Unitech MR650. Unitech MR650 unitech
- Page / 38
- Table of contents
- BOOKMARKS
- Unitech MR650 1
- About This Manual 2
- Battery Charge Notice 3
- Storage and Safety Notice 3
- Table of Contents 4
- Getting Started 7
- Chapter 1 7
- Features 9
- Package Contents 10
- A Tour of the MR650 11
- Chapter 1 Getting Started 12
- First Steps with the MR650 13
- Supply Power to the MR650 14
- Protective Screen Film 15
- Power On MR650 15
- Calibrate the MR650 15
- Setting the Time Zone/Date 16
- Setting the Date/Time 17
- Using the Hardware 18
- Chapter 2 18
- Software Keyboard 19
- Using the Readers 20
- Using the Fingerprint Reader 21
- Chapter 2 Using the Hardware 22
- Enroll Fingerprint Stamp 23
- Verify Fingerprint Stamp 24
- Using the Camera 25
- Testing the Camera 26
- Power System 27
- Chapter 3 27
- Backlight Setting 28
- Warm Start / Cold Start 29
- Data Communication 30
- Chapter 4 30
- RF Communication 31
- Use ActiveSync 32
- Useful Utilities 33
- Chapter 5 33
- Registry Backup/Restore 34
- Audio Demo Program 35
- Softkeys 36
- Terminal Block 37
- Chapter 6 37
- Terminal Block Pin Assignment 38
Summary of Contents
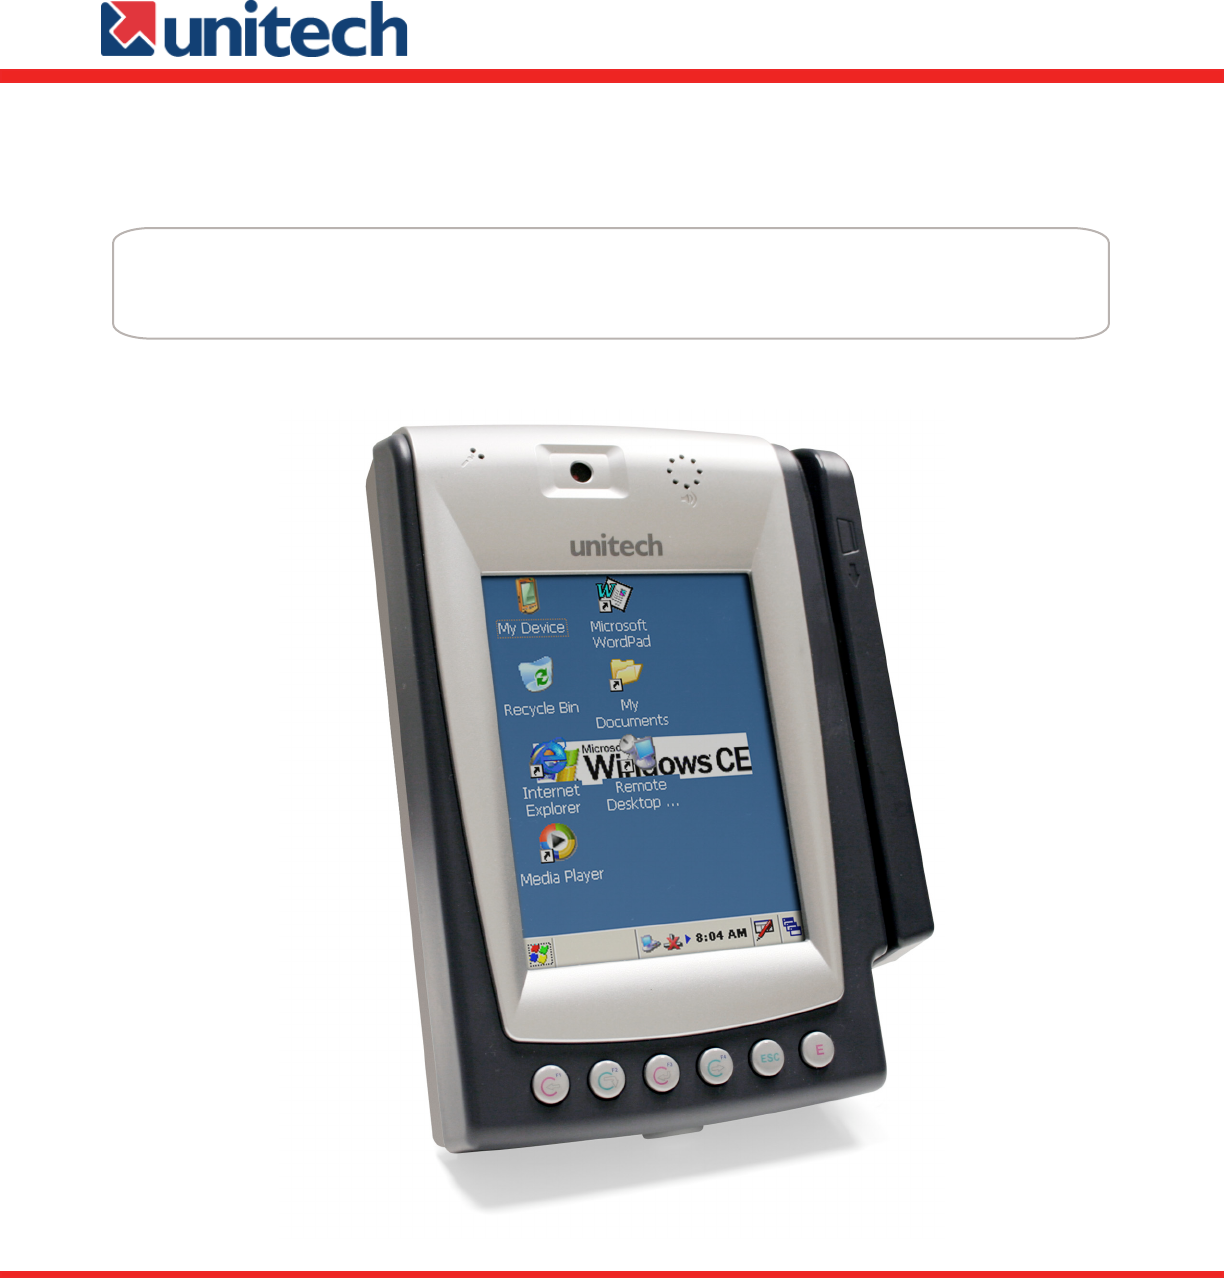
Unitech MR650Product Reference Guideunitech
10 MR650 Main Body Manual CD Stylus RS232 Cable AC Power AdapterPackage ContentsAfter opening the box, ensure the following items for the MR650 are pr
11A Tour of the MR650The following sections describe the main components and features of the MR650.Front View: Proximity/Biometric Reader (left), Slot
12Chapter 1 Getting StartedBack ViewNo. Component Description9. Front Case Hook Connects the unit and the back panel.10. Terminal Block Supplies DC p
13First Steps with the MR650To power on the MR650, plug the 12V DC power adaptor into the DC Connector’s Terminal Block, which is located on the inne
14Chapter 1 Getting StartedSupply Power to the MR650Insert key into lock and turn counter-clockwise to unlockLift back plate up 45˚ degrees Plug 12V
15Protective Screen FilmThe MR650 screen comes standard with a protective plastic lm. You may remove it if desired, by peeling from one corner. Witho
16Chapter 1 Getting StartedSetting the Time Zone/DateAfter calibrating the MR650, the “Date/ Time Properties” dialog box will appear. Setting the Tim
17Chapter 1 Getting StartedAfter calibrating the MR650, the “Date/ Time Properties” dialog box will appear. Setting the Date/TimeTap the left or righ
18Using the HardwareChapter 2Using the Keypad and ReadersRubber KeypadThe MR650 keypad contains 6 rubber keys, including F1~F4, ESC and ENTER key. Ple
19Software KeyboardSince the MR650’s rubber keypad allows input of numeric characters only, the Windows CE software provides a touch screen keyboard f
iAbout This ManualPrefaceThis manual explains how to install, operate and maintain the MR650 TAS Terminal.No part of this publication may be reproduce
20Using the ReadersThe MR650 has an integrated Proximity (EM125 kHz, HID 125 kHz, Mifare 13.56 MHz), MSR or Barcode reader which can read all major ba
21Chapter 2 Using the HardwareUsing the Fingerprint ReaderThe MR650 with the Fingerprint Reader can hold up to 4000 templates. The verifying time wi
22Testing Fingerprint VericationThe MR650 has a built-in BIOIDMgr.EXE program that allows the user to test the nger print verication. The program i
23Chapter 2 Using the HardwareEnroll Fingerprint StampClick on “Enroll”, enter an ID number for the ngerprint, click on “OK”, the message “Place ng
24Chapter 2 Using the HardwareVerify Fingerprint StampTo verify a Fingerprint Stamp click on “Verify”, enter a ngerprint ID number, click on “OK”, a
25Chapter 2 Using the Hardware Using the CameraThe MR650 has a built-in 1.3 mega pixel camera, allowing a photo to be captured when a card is read, d
26Chapter 2 Using the HardwareTesting the CameraThe MR650 has a built-in Camera Demo.EXE program that allows the user to see the imager. The Camera
27Power SystemChapter 3Charging the Backup Battery for the First TimeThe unit is equipped with a Lithium-Ion battery pack, however the unit may not po
28Chapter 3 Power System Backlight SettingScreen ContrastThe MR650’s screen contrast has been set by the factory manufacturer and cannot be adjusted
29Chapter 3 Power System Warm Start / Cold StartWarm StartWarm Start re-boots the device without losing SD RAM data. You would perform a warm start w
iiNoticesThe Unitech MR650 is equipped with a Lithium-Ion battery pack, however as a result of storage it’s possible that the unit will not power-on d
30Data CommunicationChapter 4The MR650 allows users to link to a host computer via RS232, Ethernet, or RF connection for data communication.Connecting
31Chapter 4 Data CommunicationRF CommunicationInsert CF card for 802.11b/g wireless communication.Windows CE can support TCP/IP protocol. The user c
32Chapter 4 Data Communication Use ActiveSyncUsing Microsoft ActiveSync, you can synchronize and transfer information between your desktop computer a
33Useful UtilitiesChapter 5Scanner SettingsWhen the user needs to change the default barcode symbologies for a different application the Scanner Contr
34Registry Backup/RestoreThe Registry Backup/Restore program gives the user the ability to save and recall the initial changes made to Settings. For e
35Chapter 5 Useful UtilitiesAudio Demo ProgramThe Audio Demo program allows you test audio input and output which can record and playback voice recor
36SoftkeysSoftkeys is the numeric on-screen keypad utility to input numeric keys. To run Softkeys go to \Start\Program\Utilities\Softkeys.Chapter 5 U
37Terminal BlockChapter 6Overview of Terminal Block4 digital inputs12V DVpower in3 relays Flex cable to main board
38Chapter 6 Terminal BlockTerminal Block Pin AssignmentPin Name Description1 GND GND2 DC Out Support +12V, 0.5A3 DI1-L Photo-In Anode(-)4 D11-H Photo
iiiTable of ContentsPreface About This Manual Regulatory Compliance . . . . . . . . . . . . . . . . . . . . . . . . . . . . . . . . . . . . . . .
ivChapter 2 Using the HardwareUsing the Keypad & Reader . . . . . . . . . . . . . . . . . . . . . . . . . . . . . . . . . . . . . . . . . . . .1
vChapter 5 Useful UtilitiesScanner Setting . . . . . . . . . . . . . . . . . . . . . . . . . . . . . . . . . . . . . . . . . . . . . . . . . . . . .
7Getting StartedIntroducing the MR650The MR650 is a TAS (Time Management, Access Control and Security) Terminalwith a large 240 x 320 pixel color touc
8SupportUnitech’s professional support team is available to quickly answer your questions or technical-related issues. Should an equipment problem occ
9FeaturesSystem • Microsoft Windows CE 5.0 Professional Operating System • Intel PXA270 520MHz ProcessorSystem Memory • 128MB RAM • 64MB F
Related products and manuals for Handheld mobile computers Unitech MR650
 (40 pages)
 (2 pages)
© 2020, manymanuals.com. All rights reserved. | 1.043 s |
 Manymanuals.com
 Manymanuals.de
 Manymanuals.fr
 Manymanuals.it
 Manymanuals.pl
 Manymanuals.cz
 Manymanuals.es
 Manymanuals-pt.com
Comments to this Manuals